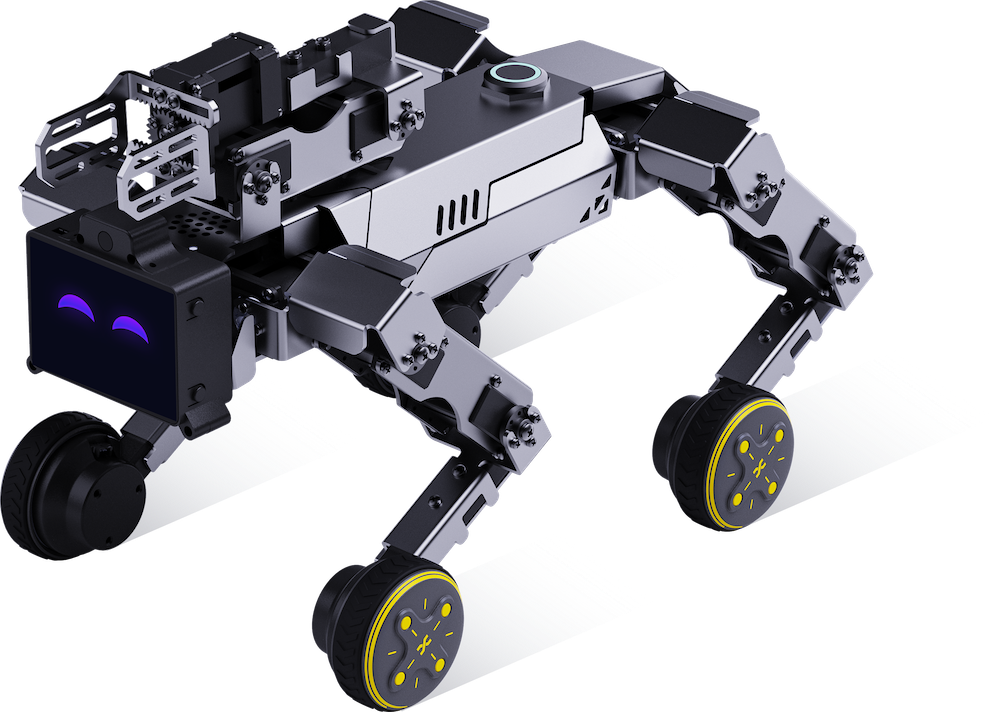
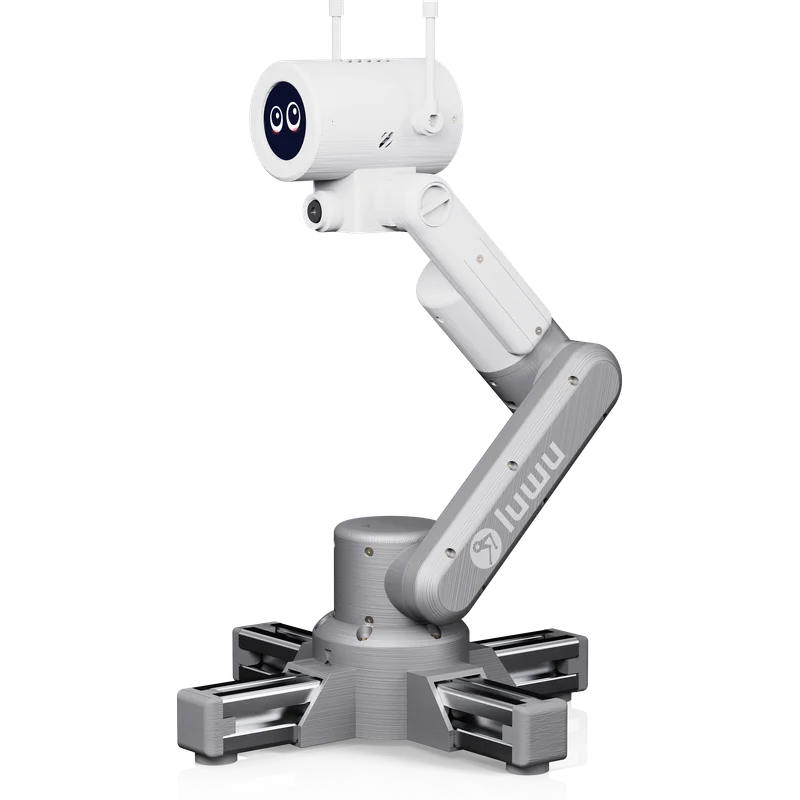
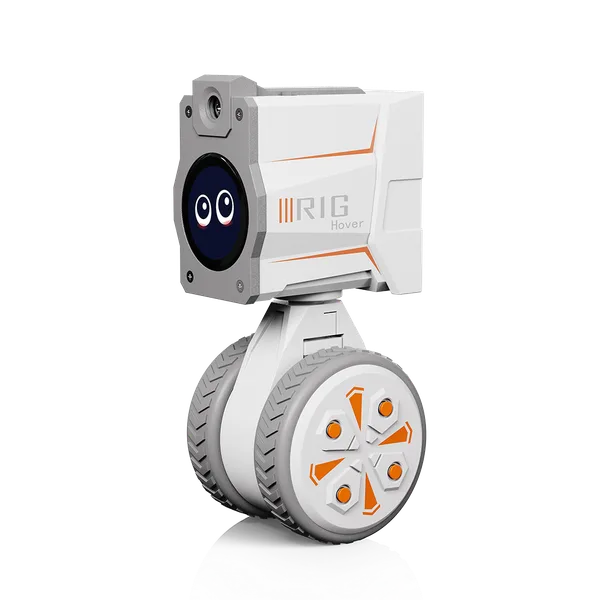

Robots
RIG-TARS

Desktop Sci-Fi Robot

Quick Start Guide

Moves · Listens · Talks · Open for Development

RIG-TARS

Getting Started

0

Disclaimer

Each electronic kit from our store is inspected for appearance and basic functionality before shipping. Please power it on and test it as soon as you receive it and confirm that it works properly before mounting it on the frame. Our store accepts no responsibility for damage caused by installing the kit without testing it first, or by improper installation or unsuitable operating conditions after installation. Damage resulting from failure to test the kit is not covered by after-sales service.

ℹ️ Factory firmware notice: Electronic kits are shipped without preinstalled firmware. After assembly, you must flash the firmware yourself before the robot can operate. Fully assembled robots come with firmware preinstalled and are ready to use out of the box.

For firmware flashing, refer to Stage 3 of the Wiki build guide: Firmware Flashing (Bringing Your Robot to Life). Flashing platform: https://tools.luwudynamics.ai/

  • Connect the device: Connect the mainboard to your computer using a USB data cable, connect the battery, and turn on the power switch.
  • Select the series: On the platform home page, click the RIG Series card, select your model, and flash the firmware.
Electronic kit: View the Wiki build guide

RIG-TARS Unboxing & Assembly

Follow the unboxing and assembly tutorial to build your RIG-TARS.

Play the video to follow the assembly tutorial. If the player does not load, watch on YouTube.
1

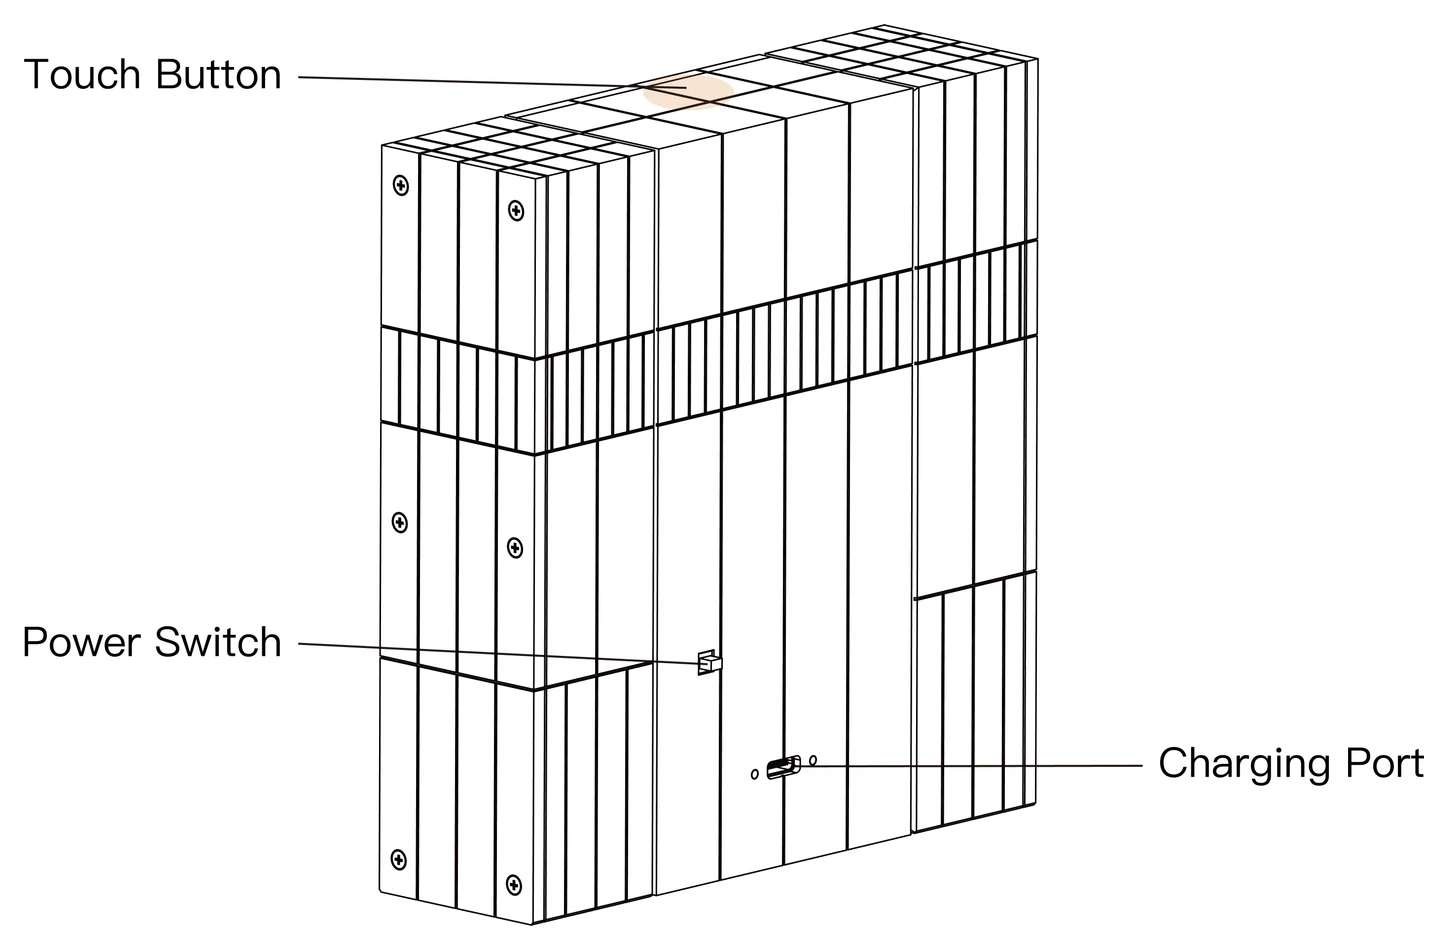
Power On/Off & Charging

For the best first-use experience, fully charge the battery before use. Check the power indicator during charging; it turns green when the battery is fully charged.

ActionFunction
Long pressPower off
Power On/Off & Charging
2

Calibration Mode

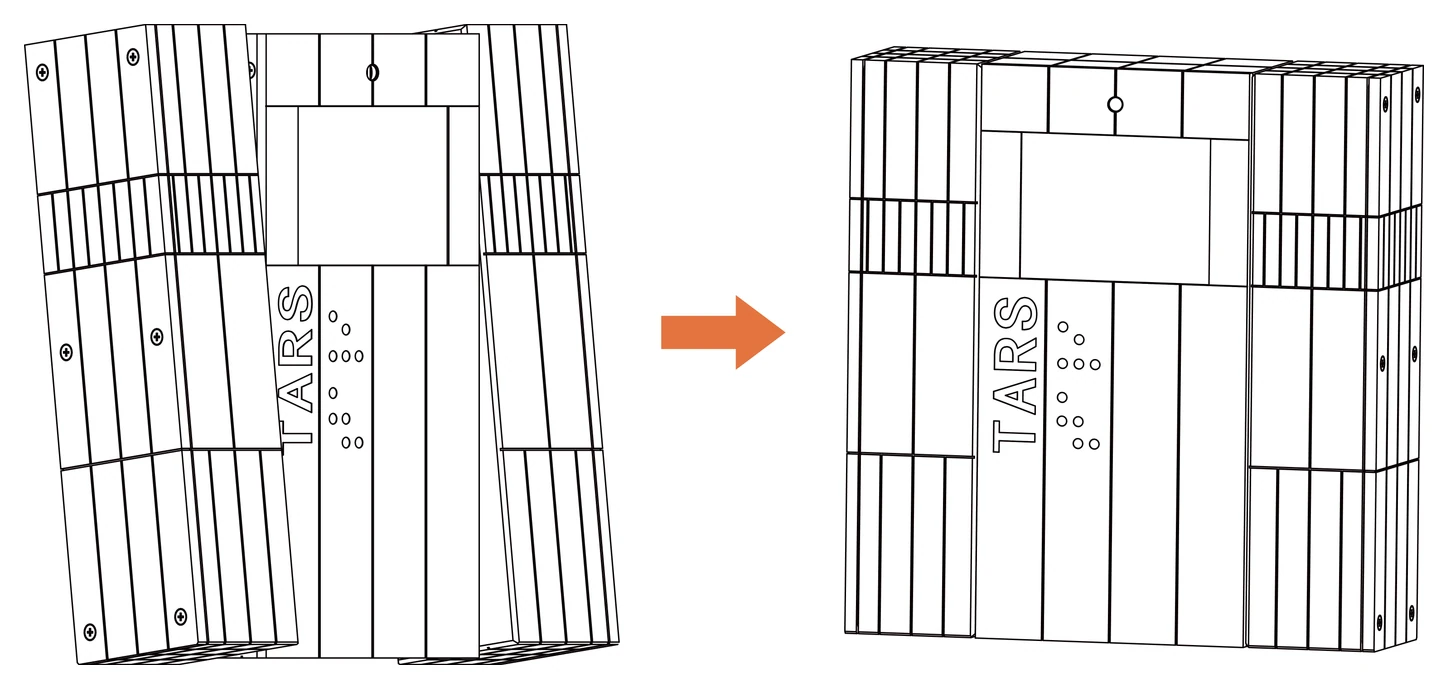
On its first power-up, the electronic kit automatically enters calibration mode and releases servo torque.

  1. Manually adjust all joints to the standard standing posture shown below, then tap the touch button once to save the zero positions.
  2. To calibrate again, use the voice commands "Enter Calibration Mode" or "Exit Calibration Mode" to switch modes.
Notice: Place the robot on a flat, stable desktop for calibration.
Calibration Mode
3

Understanding the Display

The left side shows logs; the right side shows status and sensor data. HONESTY / HUMOR values appear at the bottom.

FLIGHT LOGTARS / STATUS
SYS BOOTST STANDBY
IMU SAMPLEBAT 80%
M1 FEEDBACKIMU OK
HONESTY 90%HUMOR 75%
4

Connect RIG-TARS

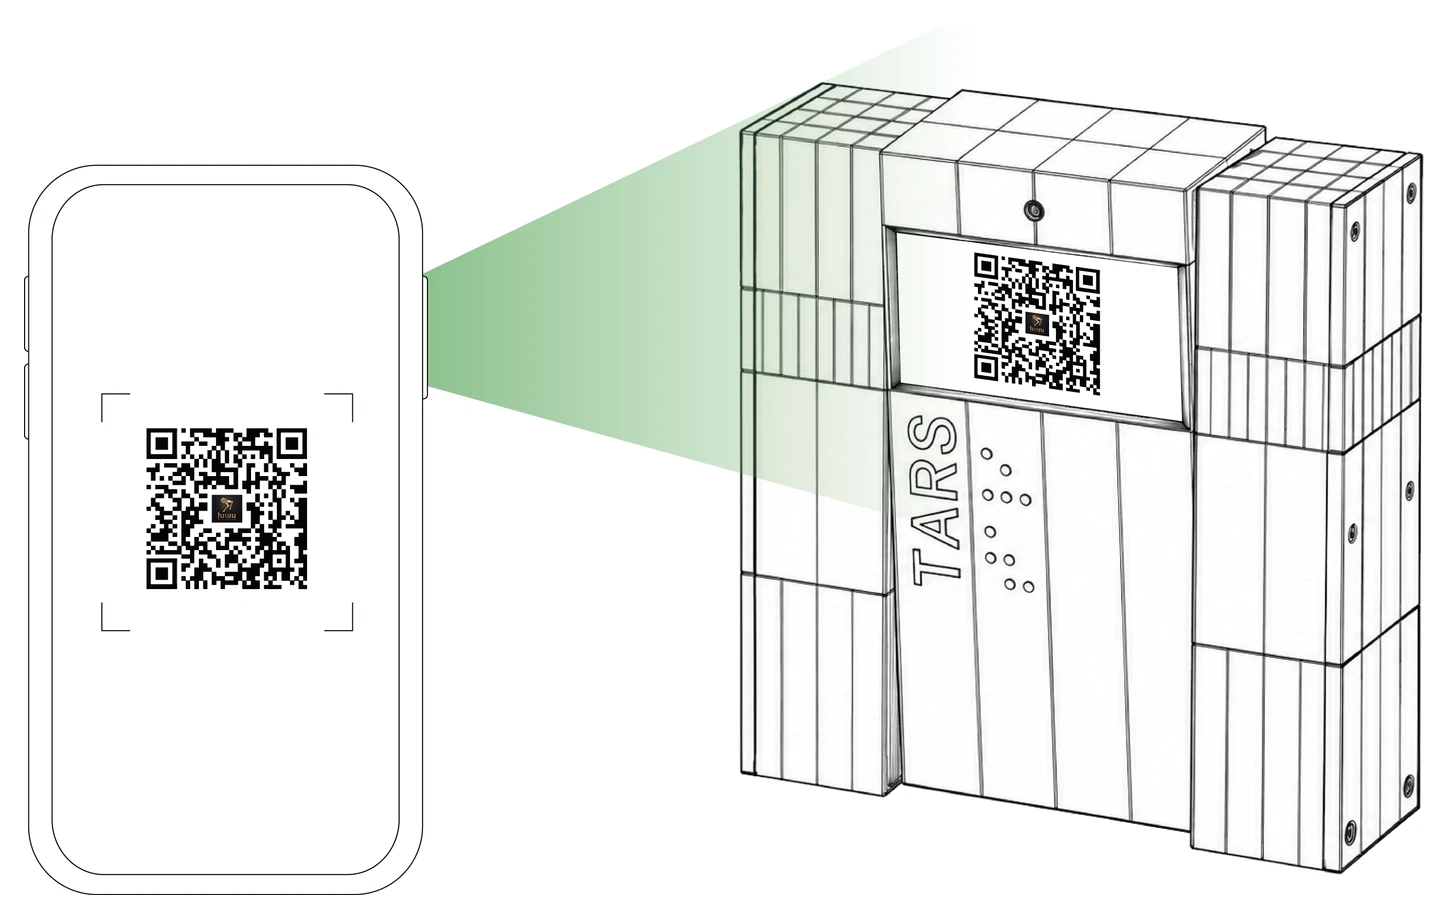
After power-up, the robot provides voice prompts for network setup. Scan the QR code on the robot's display with WeChat and follow the instructions to complete setup.

Connect RIG-TARS
5

Select & Configure WiFi

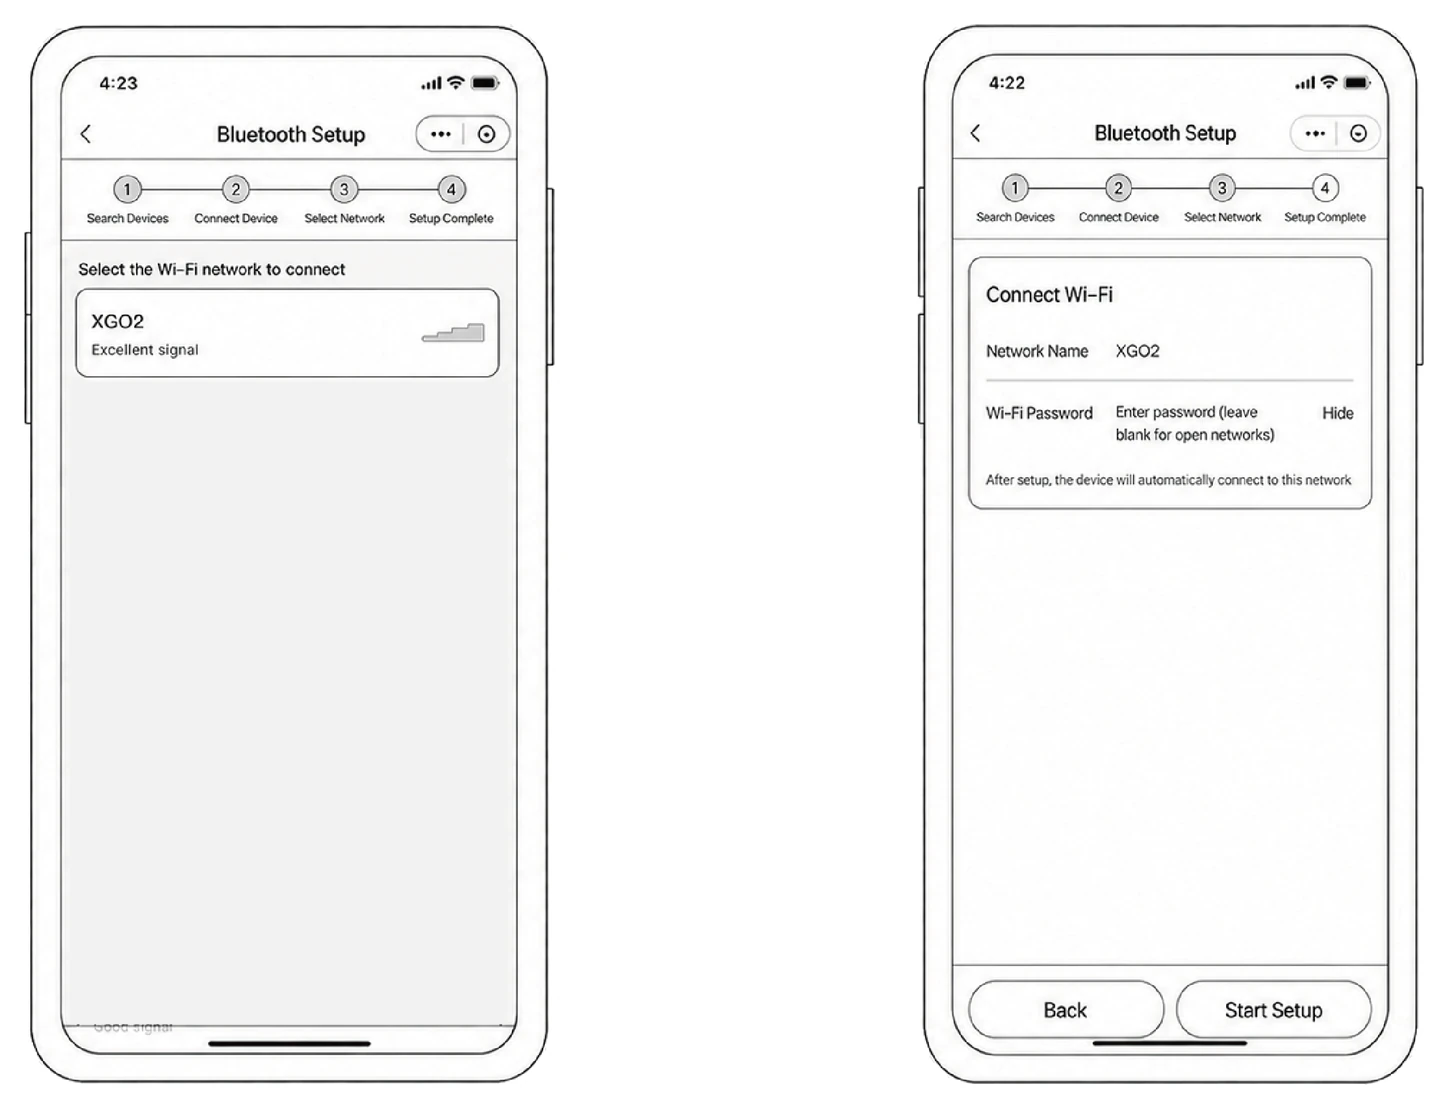
Choose your 2.4 GHz home network from the WiFi list, enter the password and tap "Start Setup".

Notice: 5 GHz networks are not supported. Please use 2.4 GHz WiFi.
Select & Configure WiFi
6

Cyber Soul Development

Agent Setup

Agent Setup

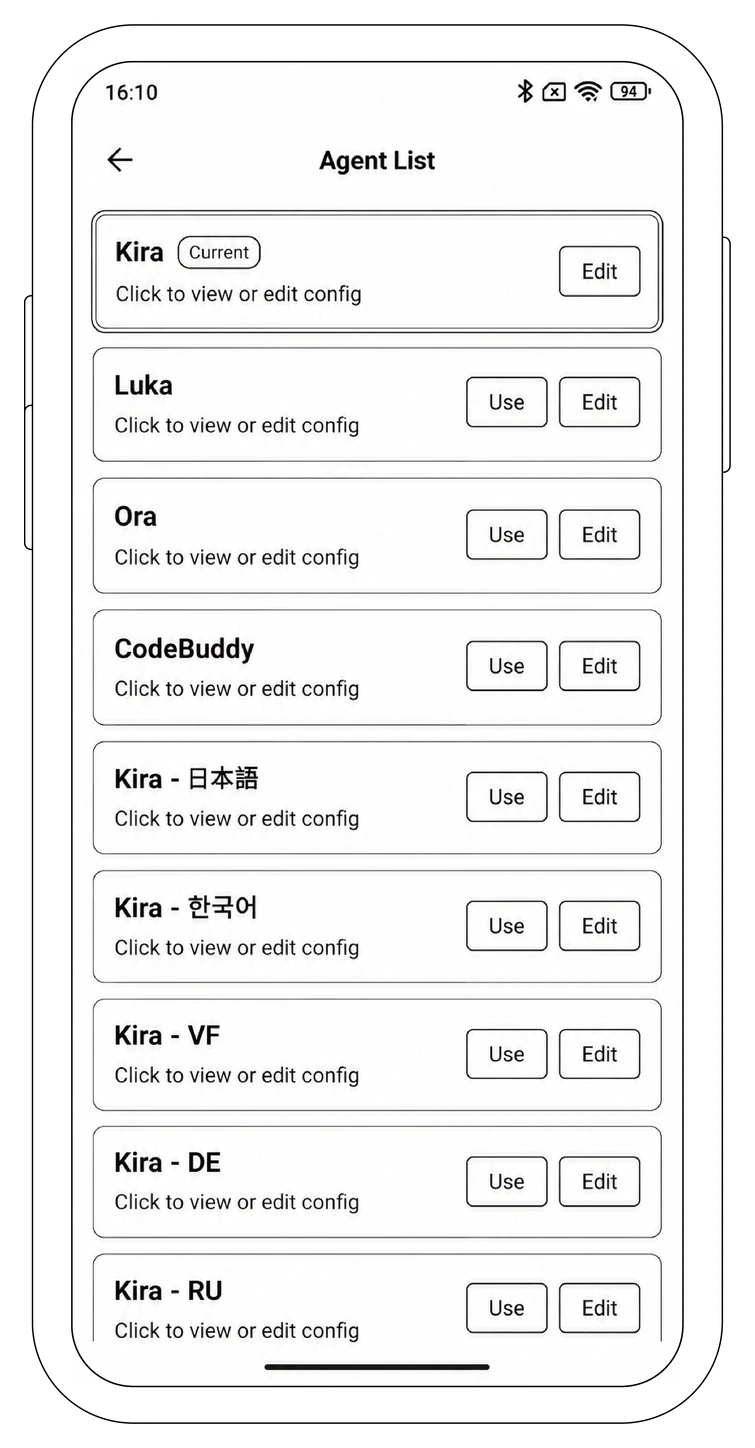
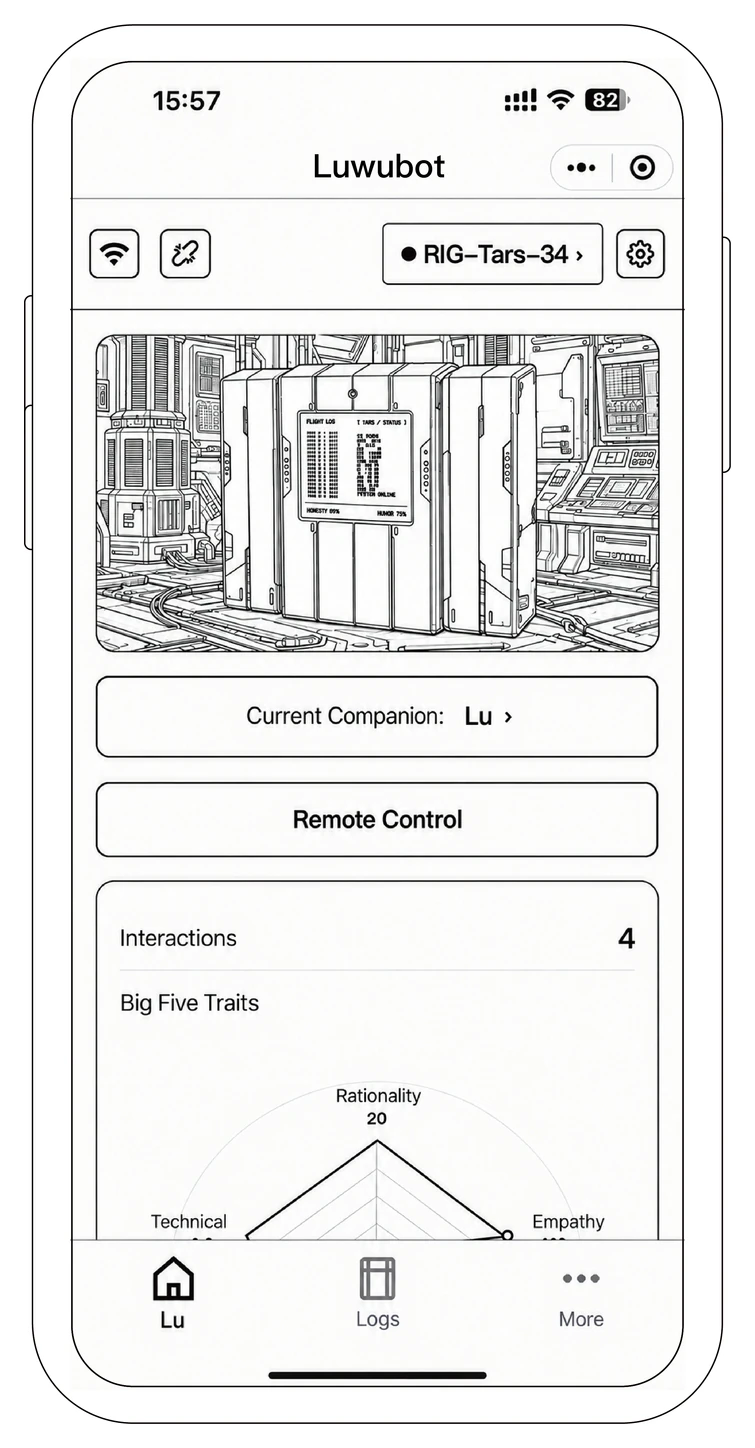
Use the "Xiaolu Classmate" mini program to customize its personality, conversation style and voice.

Mood & Growth

Mood & Growth

During daily conversations, view TARS's five-dimensional personality panel in the mini program and watch its personality evolve.

Mood Diary

Mood Diary

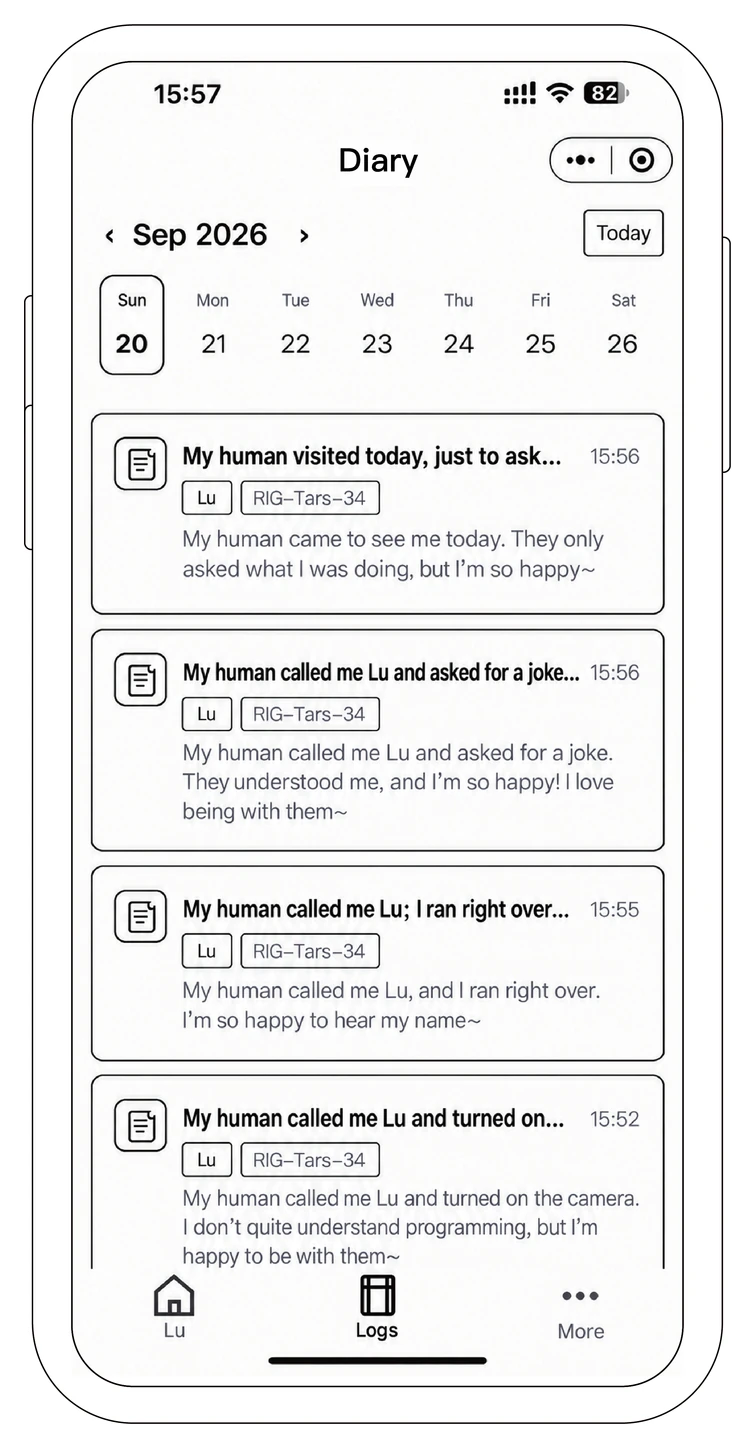
Based on the frequency and content of your interactions, the system automatically creates a personal mood diary recording this cyber life's daily thoughts.

7

Interactive Commands

After powering on and connecting to the network, wake the robot with "Xiaolu Classmate" or "Hey Kira!" and try these commands.

Move forward Move backward Turn left Turn right Spin around Set humor to 90% Set honesty to 80%

FAQ

Before inspecting or reconnecting power cables, ribbon cables, or servo cables, or adjusting the mechanical structure, turn off the robot and disconnect the power supply. Do not connect or disconnect cables while power is on. Follow the labels and guide for your TARS hardware. Sleep mode and automatic protection do not replace disconnecting the power for maintenance.

The screen is blank or the robot will not power on. What should I do?

First check whether TARS is asleep. In deep sleep, the screen turns off and the servos release their holding force. Tap the touch module to wake it.

If it will not start, check the battery charge and power switch. If there is still no response, turn it off and disconnect the power before checking the power cable, switch cable, and mainboard connectors for loose connections. Do not short the connectors. If the power indicator is on but the kit has never been flashed, follow the TARS development guide to build and flash firmware for the correct board.

If firmware is already installed, a blank screen alone does not mean firmware is missing. If the robot is on but the screen remains blank, disconnect the power and check whether the display ribbon cable is fully seated, crooked, or pinched. Confirm the cable orientation using the TARS documentation; do not apply the face-up or face-down instructions for another model.

The servos do not move, twitch, or seem to have no power. What should I check?

Make sure the robot is awake and the battery is charged. Then turn it off and disconnect the power before checking servo cable orientation and connections.

Follow the TARS hardware labels and guide to check the power and communication connections between the mainboard and its three SCS009 bus servos. If a joint jams, makes unusual noises, or encounters mechanical interference, stop motion and disconnect the power. Do not force the joints or repeatedly send motion commands.

After confirming that assembly, power, and wiring are correct, turn the robot on and test basic movements. If only the posture is misaligned, recalibrate using the "Calibration Mode" section. If the problem persists, record any on-screen messages and contact technical support.

Firmware flashing fails, or my computer cannot find the serial port. What should I do?

Make sure the robot is powered on with a stable power supply, and use a USB-C cable that supports data transfer.

Find the device in Device Manager or your computer's serial port list, select the correct port, and close any other tools using that port. Choose the driver for your actual hardware; do not assume that CH340 is required. When using a web flashing tool that supports TARS, use Chrome or Edge and grant serial port access.

The firmware must match RIG-TARS and your hardware revision. When building it yourself, select ESP32-S3, the TARS board, and the correct domestic or overseas region. If flashing still fails, save the error message or serial log and follow the build and flashing guide. Do not use a long press of the Boot button to restore factory settings as a generic flashing step: it may erase network settings and personality parameters.

Explore the English RIG Wiki